


How to Make Your Website More Accessible | 5 Easy Steps
Have you ever wondered what barriers someone using a screen reader might face on your site? People with visual, motor, cognitive, or hearing challenges should be able to enjoy every part of your pages just like anyone else. Sadly, a recent audit of one million homepages revealed an average of 51 accessibility errors per page. Meaning most visitors encounter broken elements before they even click “buy” or “subscribe”. Even more striking, 94.8% of the sites tested had at least one failure against WCAG 2 standards, showing that accessibility is still an afterthought for many organizations. I’ve spent countless hours navigating both small business websites and enterprise portals with just a keyboard or screen reader. And I know firsthand how surprising it can be to hit dead ends or missing labels mid-form. In this piece, I’ll share five practical steps – backed by both automated checks and manual reviews – to help you smooth out those rough spots and welcome every visitor.
Step 1 | Audit Your Site with Testing Tools
Starting with a clear picture of what needs fixing saves time and effort later on. Automated accessibility testing tools such as axe, WAVE, and Lighthouse. Which can scan entire pages in seconds, catching missing alt text, low contrast text, and empty form labels without manual clicks. Yet no tool is perfect, so pairing those scans with a keyboard-only walkthrough reveals issues like invisible focus traps or elements that break standard navigation patterns.
Combine Automated and Manual Checks
- Run an initial scan with an accessibility checker. WAVE to generate a list of common errors in under a minute.
- Switch to keyboard-only mode: press Tab and Shift+Tab through your site to find places where focus disappears or jumps unpredictably.
- Test with a screen reader such as NVDA or VoiceOver, listening to whether heading levels, link labels, and live region updates make sense in sequence.
When you circle back to the tester reports, you’ll have both a high-level summary and real-world observations to prioritize fixes that truly block access.
Step 2 | Improve Keyboard and Focus Navigation
Many visitors rely exclusively on the keyboard, especially those with motor impairments or temporary injuries. If your tab order jumps around or the focus outline vanishes behind custom styling, you risk trapping these users on the wrong element.
Ensure Logical Tab Order
Arrange your interactive elements in the same sequence as they appear visually—logo, main navigation, content headings, links, form fields, and finally secondary elements. That way, every Tab press moves predictably, avoiding disorientation for screen reader users.
Provide Clear Focus Indicators
Browser defaults sometimes disappear behind your brand colors, so add a custom CSS outline or background change with at least a 3:1 contrast ratio for non-text elements as recommended by WCAG 2.2 success criteria. A thick, brightly colored ring around links and buttons makes it obvious where focus is without cluttering the design.
Step 3 | Tackle Color Contrast and Readability
Low-contrast text still plagues nearly 80% of sites, making content blend into backgrounds for users with low vision or in harsh lighting conditions. Even if a shade looks stylish, it might be unreadable.
Check Contrast Ratios
Aim for at least a 4.5:1 contrast ratio between text and its background for normal text, or 3:1 for large text. Online contrast checkers let you paste two color values and instantly see pass/fail results.
Optimize Typography
Use simple, readable fonts at 16px or larger for body text, and limit line lengths to around 60–75 characters per line. That spacing reduces eye strain and helps everyone, including people with dyslexia or cognitive differences, to follow along without losing their place.
Step 4 | Add Descriptive Text for Images and Links
Missing or generic alt attributes on images leave screen reader users guessing what’s on the page, and vague link text like “click here” breaks context when read out of its sentence.
Write Effective Alt Text
Provide a concise description that conveys the purpose of an image—“Team collaborating around a whiteboard”—and use empty alt (alt=””) for purely decorative images so assistive tech skips them.
Use Meaningful Link Labels
Instead of “read more,” write “read how to test color contrast” or “download our accessibility checklist.” Clear labels help users understand link targets whether they skim a link list or use keyboard shortcuts to jump between them.
Step 5 | Simplify Forms and Interactive Components
Almost half of homepages tested had at least one missing form label, making signup or contact forms a guessing game for many users. Clear labeling and feedback are essential to guide everyone through interactive elements.
Label Every Input
Attach a <label> element to each form field so screen readers announce field names before entry. If you hide labels visually, use ARIA attributes (aria-label or aria-labelledby) to ensure they’re still announced.
Offer Helpful Error Messages
When validation fails, say exactly what went wrong and how to fix it—“Please include an @ symbol in your email address”—and place messages next to the related field. Clear, actionable feedback prevents frustration and repeated form abandonment.

Bonus Tips for Further Refinement
If you’re eager for extra polish, these quick wins can boost usability even more:
Regularly revisit your site after design or feature changes to catch regressions, since new components often introduce fresh obstacles.
- Add a “skip to main content” link at the top of each page so keyboard users bypass repetitive navigation.
- Group related form fields with semantic landmarks or ARIA equivalents so screen readers announce the grouping, like fieldsets with legends for contact details or payment info.
- Include captions and transcripts for video or audio content to serve users with hearing loss and provide search engines with more context for SEO gains.
- Test on mobile: ensure touch targets are at least 44×44 pixels and that dynamic updates (e.g., live filtering) announce progress in an ARIA live region to keep screen reader users in the loop.
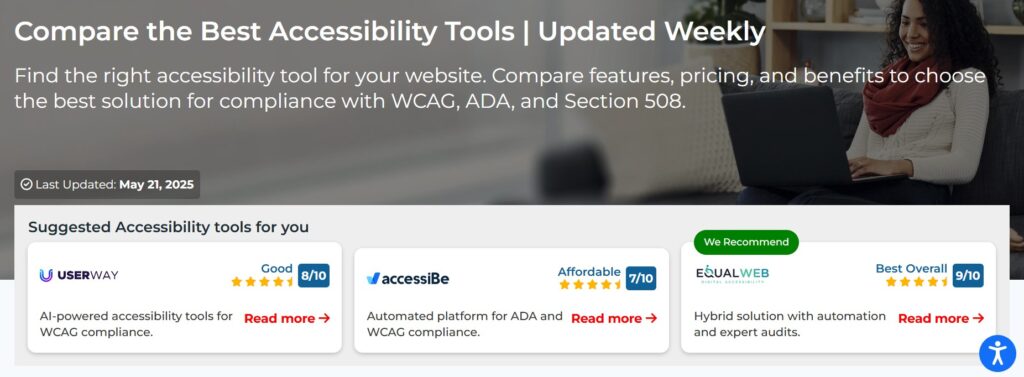
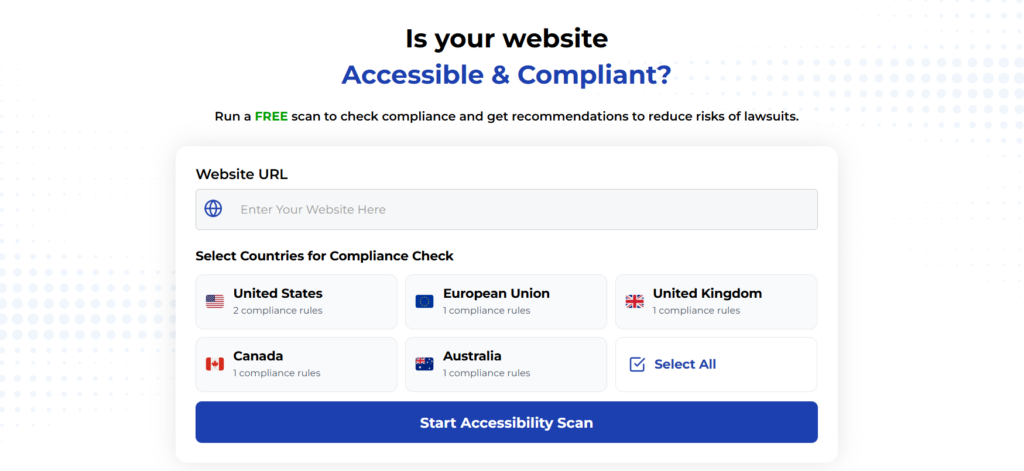
Using Automated Tools for Quick Insights (Accessibility-Test.org Scanner)
Automated testing tools provide a fast way to identify many common accessibility issues. They can quickly scan your website and point out problems that might be difficult for people with disabilities to overcome.
Visit Our Tools Comparison Page!
Run a FREE scan to check compliance and get recommendations to reduce risks of lawsuits
Final Thoughts
Accessibility isn’t an unreachable ideal—it’s a set of practical tweaks anyone can make, from scanning with top accessibility testing tools to refining focus outlines and writing clear alt text. Those fixes not only open your site to millions more visitors but also strengthen your brand reputation and reduce legal risk under ADA and Section 508 requirements.
Ready to put these steps into practice? Download our free accessibility checklist to track your progress and share it with your design and development teams. Let’s work together to create a web where everyone can participate—no exceptions.
Download your accessibility checklist now and start making a difference today!
Want More Help?
Try our free website accessibility scanner to identify heading structure issues and other accessibility problems on your site. Our tool provides clear recommendations for fixes that can be implemented quickly.
Join our community of developers committed to accessibility. Share your experiences, ask questions, and learn from others who are working to make the web more accessible.